This is a simple setup guide for modding Minecraft using the Forge tools. Specifically this guide is for Minecraft version 1.13.2. This guide will assume you have already completed the following steps:
- Installed a JDK (Java Development Kit, supported versions are 8, 9 or 10)
- Installed an appropriate IDE (In my case Eclipse Java EE edition).
- Minecraft Forge Installed (Added to Minecraft launcher).
Downloading the Forge mod development kit
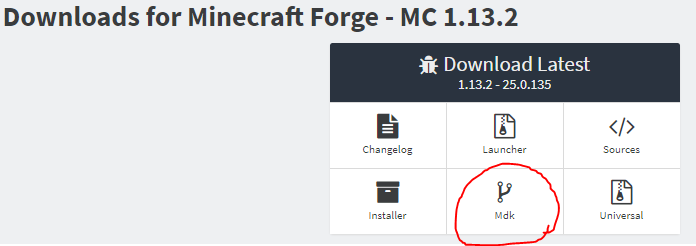
The first step is to download the Forge MDK from their website. Follow this link and from the ‘Downloads for Minecraft Forge – MC 1.13.2’ section, select ‘Mdk’.
Once this has downloaded you should be left with a zip file, such as:
forge-1.13.2-25.0.134-mdk.zip
Importing the Forge Project into Eclipse
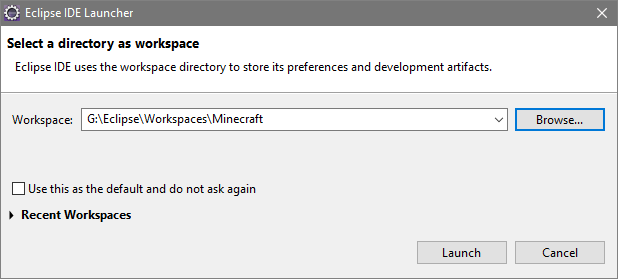
In my case I am using a separate Eclipse workspace for Minecraft, although this is not necessary and is a matter of personal preference. My workspace is located at:
G:\Eclipse\Workspaces\Minecraft
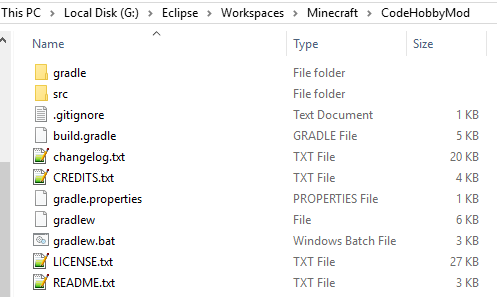
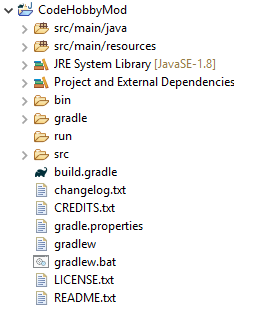
Inside my Minecraft workspace I create a new directory which will contain the mod project. In my case the mod will be called ‘CodeHobbyMod’ so this is what I name the directory. Inside the ‘CodeHobbyMod’ directory I unzip the contents of the forge mdk zip file (Downloaded earlier).
At this point I can now launch Eclipse and point it at my Minecraft directory.
As I have created a new worspace, when Eclipse is launched it opens to the ‘Welcome’ page. Closing this reveals the default perspective with no projects loaded. In order to import the mod project, select ‘File -> Import… -> Gradle -> Existing Gradle Project’. In the project root directory navigate to the mod directory.
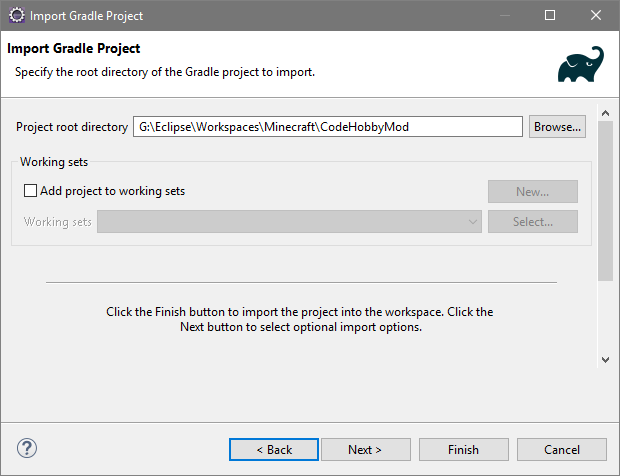
At this point, we can click ‘Finish’ to import with the default settings, which will create the Eclipse project.
Customising the Mod
The mod that you have just imported is pre-configured using example names and settings. You will want to rename these so that the built mod is customised to what you are creating. The important pieces to modify are:
- The package name. I.e from ‘com.examplemod.examplemod’ to ‘blog.codehobby.codehobbymod’.
- The ExampleMod class. I.e from ‘ExampleMod’ to ‘CodeHobbyMod’, and update the modid in the @Mod annotation.
- mods.toml (Example, configure to your own requirements):
modLoader="javafml" #mandatory
loaderVersion="[25,)" #mandatory (24 is current forge version)
[[mods]] #mandatory
modId="codehobby" #mandatory - your modid (should be consistent throughout project)
version="${file.jarVersion}" #mandatory - current mod version.
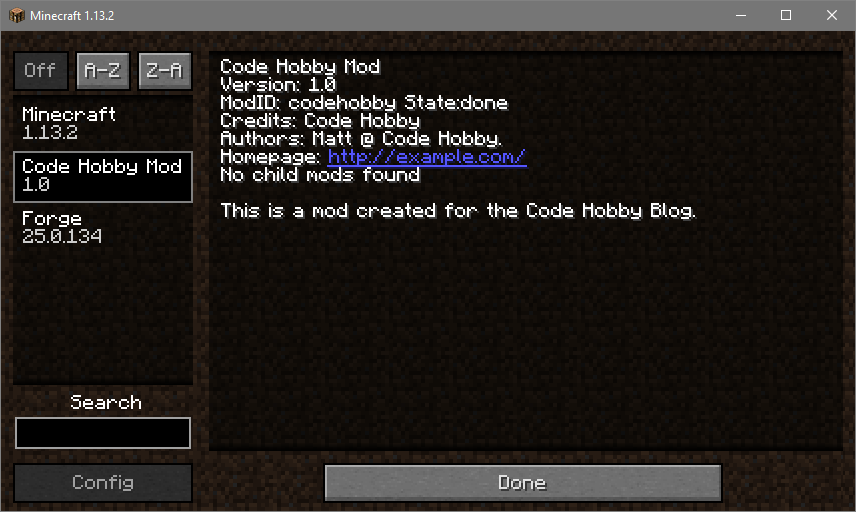
displayName="Code Hobby Mod" #mandatory - the name displayed in the 'Mods' UI in Minecraft.
issueTrackerURL="http://my.issue.tracker/" #optional
updateJSONURL="http://myurl.me/" #optional
displayURL="http://example.com/" #optional
logoFile="examplemod.png" #optional
credits="Code Hobby" #optional
authors="Matt @ Code Hobby." #optional
description='''
This is a mod created for the Code Hobby Blog.
'''
[[dependencies.examplemod]] #optional
# the modid of the dependency
modId="forge" #mandatory
# Does this dependency have to exist - if not, ordering below must be specified
mandatory=true #mandatory
# The version range of the dependency
versionRange="[25,)" #mandatory
# An ordering relationship for the dependency - BEFORE or AFTER required if the relationship is not mandatory
ordering="NONE"
# Side this dependency is applied on - BOTH, CLIENT or SERVER
side="BOTH"
[[dependencies.examplemod]]
modId="minecraft"
mandatory=true
versionRange="[1.13.2]"
ordering="NONE"
side="BOTH"- pack.mcmeta (Update the description):
{
    "pack": {
        "description": "codehobby resources",
        "pack_format": 4,
        "_comment": "A pack_format of 4 requires json lang files. Note: we require v4 pack meta for all mods."
    }
}- build.gradle (Just update the version, group and archivesBaseName).
version = '1.0'
group = 'blog.codehobby.codehobbymod'
archivesBaseName = 'codehobbymod'
Building the mod
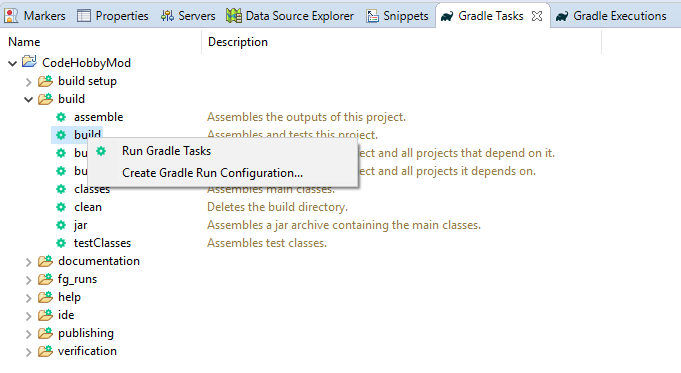
In order to build the mod into a jar file, go to the ‘Gradle Tasks’ view, right click ‘build’ and select ‘Run Gradle Tasks’.
Once the build has finished you can find the resulting jar in project build/lib folder in the file system. Note that the jar will be named based on the configuration settings in ‘build.gradle’.

The jar can then be dropped in your Minecraft mods folder. Once you start up Minecraft Forge, you should see it in the mod list. Alternatively you can run the gradle task ‘runClient’ under ‘fg_runs’ in the gradle tasks view to launch it from Eclipse.